Lara’s Double Chocolate Espresso Cookies

If you open my sister’s freezer, there will be two neatly labeled tupperware. One says espresso, the other cayenne. Each is filled with deep brown, near-perfect spheres of dough, ready to bake off at a moment’s notice. That level of pre-planning and organization makes me wonder whether she’s adopted. She also somehow has the self-control not eat them all on day one which makes me convinced she’s an altogether different species. But when there’s a party or a BBQ, she’s ready and shows up with two plates stacked with cookies and each plate is neatly labeled espresso and cayenne – HOT.

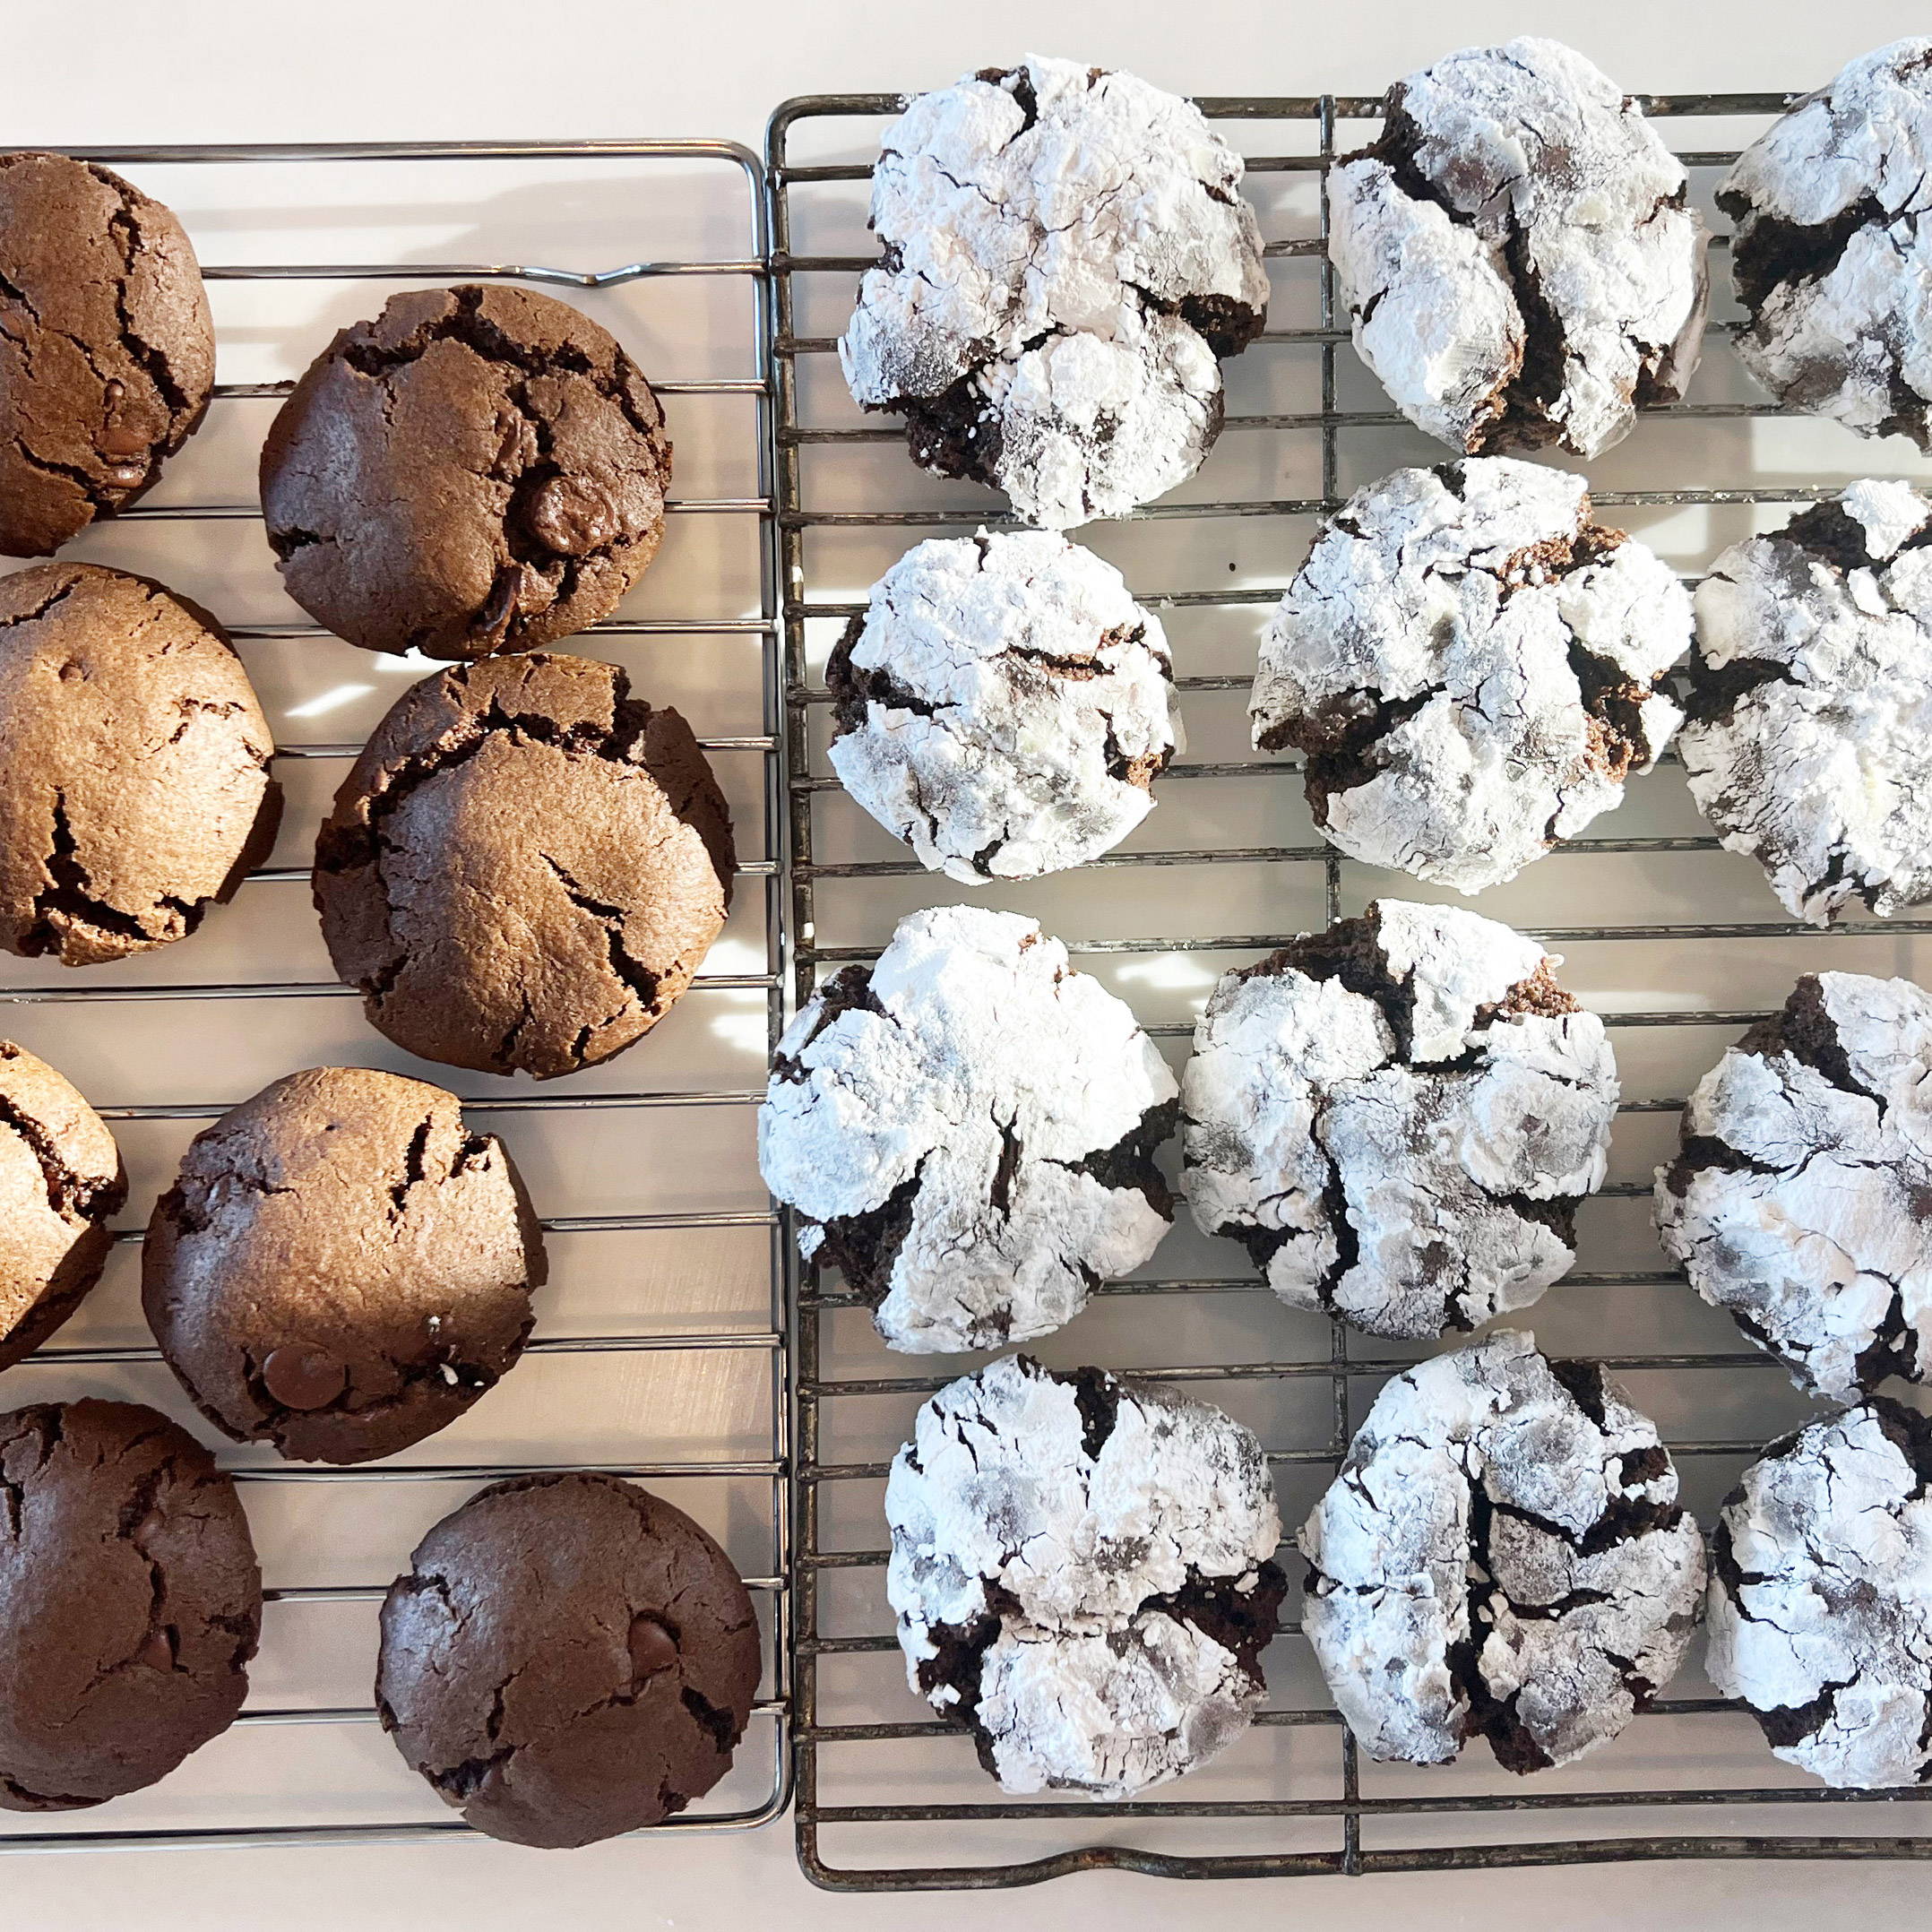
We’re offering three iterations here. They all use the same base recipe that’s very rich and quite forgiving as long as you chill the dough. The espresso version is (of course) our favorite. We use one packet of Alpine Start’s powdered instant coffee, but any instant coffee or espresso works. 3/4 of a teaspoon of cayenne give them a nice bit of heat without overdoing it and goes great with Mexican food or a summer cookout. For the holidays we go peppermint extract and roll them in powdered sugar. They’re festively delicious and they look stunning, like little glaciers of deliciousness. See variations below.

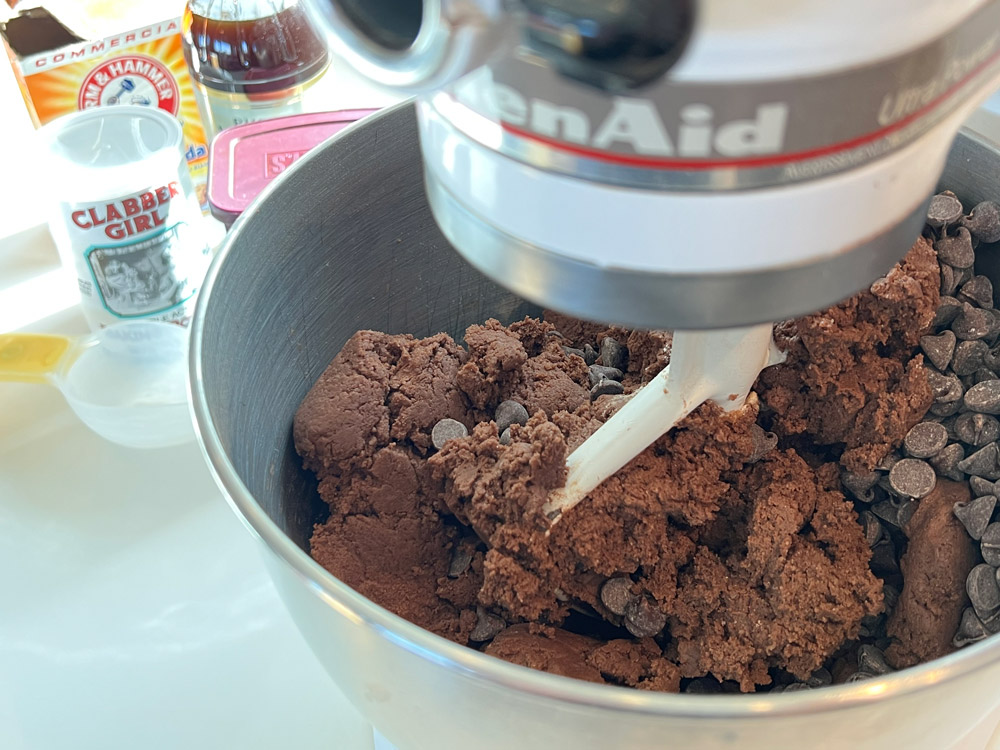
Cream together butter, sugars and vanilla until light and fluffy. Add eggs one at time. In a separate bowl, mix and sift together dry ingredients. Sifting makes sure there aren’t leavening clumps and gets the cocoa distributed evenly. Add dry ingredients to butter/sugar mixture in two additions. As with all cookies and confections, be sure not to over-mix as that will activate the gluten in the flour and resulting in small, sad bricks instead of cookies. Stir in chocolate chips. Chill dough at least 2 hours before baking.

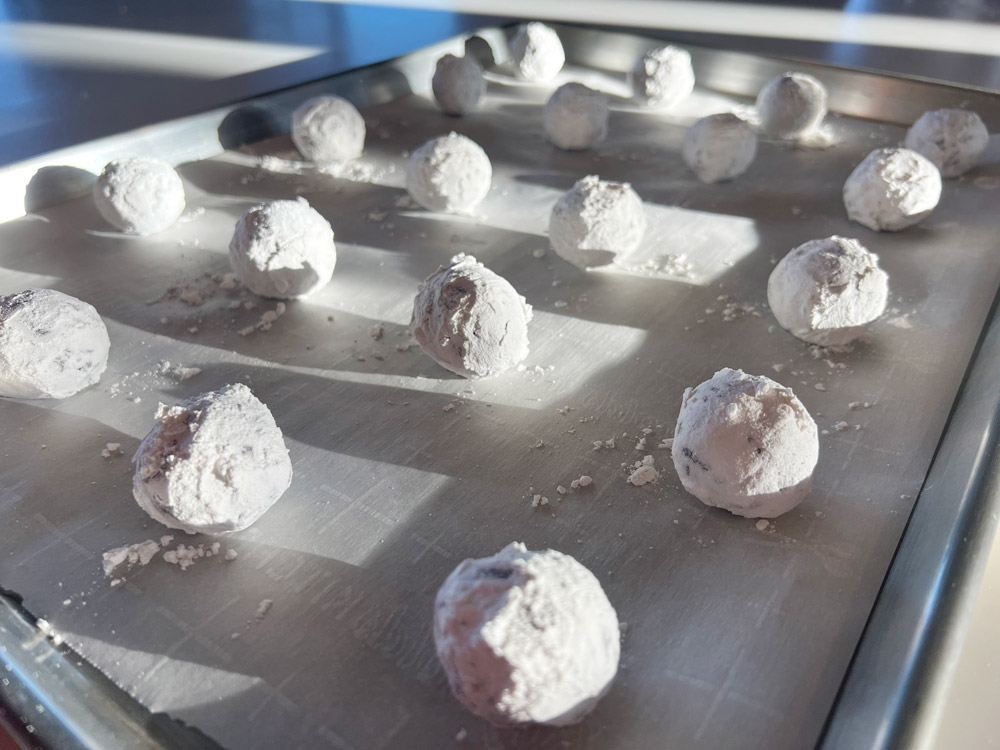
Preheat oven to 375ºF. Form dough balls around an inch in diameter or slightly larger for bigger cookies and space them about 2″ apart on a parchment paper-lined sheet pan. Bake for 9-11 minutes. Cool on a wire rack. For fun, test your self-control against Lara’s (knowing you will lose).

10 tbls (1 ¼ sticks) unsalted butter or veggie shortening, softened 1 c light brown sugar, packed

1 c sugar

2 eggs

1 tsp vanilla extract 

— — —

2 ½ c all-purpose flour

¾ c unsweetened cocoa powder

1 tbls instant espresso powder for Espresso (see variations below)

1 tsp baking soda

1 tsp baking powder

1 tsp salt

12 oz (1 ½ cups) semisweet chocolate chips

Pro tips:

  1. Frozen dough is good for several months in a well-sealed container and you can go from freezer to oven directly. Reduce heat to 350º and cook for 12 minutes (depending on your oven). Bonus points if you make two kinds and neatly label them. Make Lara proud.
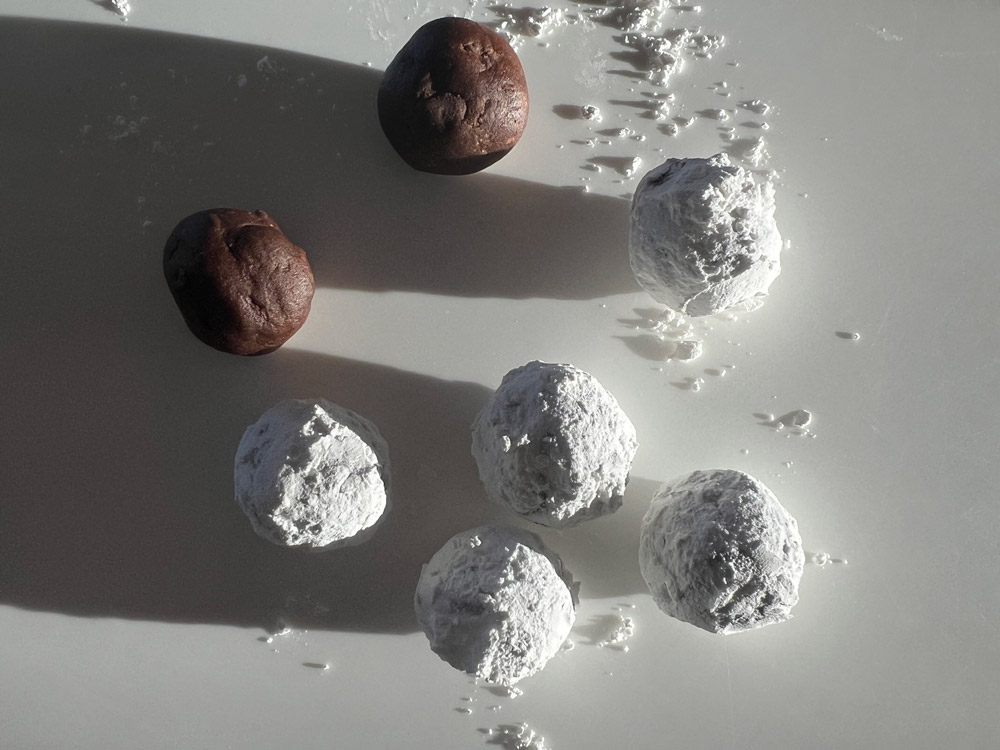
  1. For the powdered sugar version (you can do this with any flavor, but it’s especially well-suited to peppermint) cover the balls with a heavy coat of powdered sugar before baking. Really go heavy to where the sugar is falling off the ball—otherwise the cookies end up with a thin grey coating of sugar (not festive) and the beautiful contrast with the deep chocolate valleys is lost. 

Variations:

  1. Cayenne: Add ¾ tsp ground cayenne pepper instead of espresso powder. You can add more or less to suit, but this much offers good heat without causing permanent psychological damage any unsuspecting child who downs a handful.
  2. Peppermint: Simply swap 1 tsp peppermint extract for the vanilla. We bring them to every holiday party and they’re a hit. 

Palisade Peaches

If you live in Colorado, you know Palisade Peaches and likely hunt them down at farmers’ markets and roadside farm stands. These beauties are from the local farm stand run by our friends at Rocky Mountain Garlic. And they taste as gorgeous as they look.

The town of Palisade is on the western slope of Colorado, just east of Grand Junction. That might seem like an unlikely place to grow peaches but the region’s blazing hot summer days and cool nights combined with nutrient-laden soil is a near perfect combination. The other key ingredient for peaches (or nearly anything) is, of course, water. Palisade was originally farmed by settlers at the end of the 19th century (after the Ute were forcibly removed) who were able to grow grains and some vegetables. But their fruit trees could not handle the heat with such intermittent rain. John Harlow, one of the first farmers to the region, worked hard to build irrigation canals diverting water from the Colorado River. Once the water started flowing, the fruit trees and vines started to take off…especially peaches.

In the late 1800s, ‘Peach Days’ was how Palisade celebrated their good fortune. That festival lives on now as the Palisade Peach Festival, with live music (the peach jam…get it?), running races, a car show and peach cuisine of all sorts. And if you like to eat your entire annual peach quota all at once, there’s also a peach eating contest. Palisade is also Colorado’s answer to Napa Valley with numerous wineries and farm-to-table bed and breakfasts. If you like your weather hot and your food fresh, you’d be hard-pressed to beat a visit to Palisade in late summer. 

At the Rocky Mountain Garlic farm stand at the Salida farmers’ markets, we get the same tasty peaches, with weather that’s considerably cooler. A fresh peach on it’s own unadorned is about as good as it gets. A peach pie? Sublime. We’ve decided to give our tried and true berry muffins a summer twist of Palisade, and we must say, they’re not too shabby. Give them a try (we recommend warm from the oven with a piping cup of coffee) and let us know what you think.

PEACH MUFFINS

The yogurt and oil in this recipe make it fairly foolproof and help to keep the muffins tender, not too heavy, with a nice crispy top. We usually go for strawberries or blueberries, but in peach season we can’t really pass up an excuse to get more peaches. This recipe is altitude ready like most of our customers, but if you’re making them lower down go for 2 cups of flour with an extra teaspoon of baking powder.

— INGREDIENTS —

2 ¼ cups flour
1 tsp. baking soda
2 tsp. baking powder
½ tsp. salt
1 cup sugar

½ cup vegetable oil
1 egg
1 cup yogurt
1 ½ cups fresh peaches cut to ½ inch cubes

Vegetable spray for muffin tins

— DIRECTIONS —

Preheat oven to 380 degrees F.

In a large bowl sift together the flour, baking soda, baking powder, and salt and set aside.

In another large bowl, whisk together the sugar, oil, egg and yogurt. Take 1 tablespoon of the dry ingredients and toss the fruit in it. (Sounds odd, but it helps the peaches retain their moisture.) Add the wet ingredients to the dry ingredients. Stir mixture about ten times making sure to get all the way to the bottom of the bowl. Add the peaches and stir a few more times — just enough to be sure it’s all incorporated but no more or it will start to activate the gluten and you’ll have bricks instead of muffins. Generously spray a muffin tin and divide evenly.

Place into the oven and bump up the temperature to 400 degrees. Bake for 20 to 25 minutes, rotating pan halfway through. Let them cool for a minute or two in the pan, then turn them out onto a cooling rack. 

Seed of Hope Coffee Cupping

These coffees were samples from Seed of Hope Coffee out of Thailand. Ryan Stowell and his crew are helping farmers grow coffee as an alternative crop in a region that was once largely controlled by the opium trade. We really liked the intensity of the dry-process coffee — the fruity flavor may be a bit too much for single origin, but the quality is there. The washed beans we tried were warmer, carameled and incredibly smooth.

Cuppings are the coffee world’s version of wine tastings, and often veer into a realm of snooty self importance. We prefer to keep them pretty low key. Here’s the process: We do a coarse grind of about 8 grams of coffee and add 140ml of 200º water. We use no filter, so that we can be sure we’re getting the whole flavor and feel. It’s essentially cowboy coffee.

We pour the water over the coffee. There’s no stirring per se, but pouring from a gooseneck kettle circulates the grinds and makes sure all the coffee is wetted. After about four minutes, a crust forms on top of the coffee (see main image above where there’s a slight mound in the cup). We break up the crust and carefully remove it, and let the cup sit for another eight minutes.

Then we taste carefully with a spoon (otherwise it’s a mouthful of grinds) and take notes. I like to go back and forth to the bag to smell the beans and see if my initial thoughts hold true.

That’s where most cuppings end, including this one. But it’s essential to also brew any new coffee the way you’re likely to drink it. At Gato, we make French press, espresso and pour-overs with new coffees to see how they taste in the real world. Hopefully we’ll be bringing these to your real world soon. We’ll keep you posted.

Best Molecule Ever

When a hungry insect decides to chomp on one of the 60-odd plant species that have evolved to produce caffeine, the effect is not exactly a morning pick-me-up. Almost instantly the hapless snacker’s nervous system stops producing essential enzymes, which causes immediate paralysis and death. But don’t worry – a lethal dose in humans is more than 10 grams of caffeine, or some 62 gallons of coffee.

Instead, when you drink coffee, tea and the like, caffeine passes directly through the gastrointestinal tract into the bloodstream. It’s dispersed quickly and completely with 99% of it being absorbed within 45 minutes. (As with alcohol, food slows absorption.) It sloshes around inside your bloodstream, eventually making its way to your liver, where it’s metabolized into paraxanthine (another stimulant) and finally eliminated in urine. It’s a process that takes around five to eight hours. A crafty molecule, caffeine is both hydrophilic and lipophilic, meaning it can pass through most cell walls and – thank heavens – the blood-brain barrier. 

Once safely in your grey matter, caffeine binds to the adenosine receptors (adenosine is a pesky compound that makes you feel sleepy), causing the release of norepinephrine, dopamine, acetylcholine, serotonin and glutamate — a family of chemicals that makes you feel awake, alert and in general pretty ready to get shit done. And while caffeine increases energy metabolism in the brain, it reduces cerebral blood flow which causes a hypoperfusion — in other words, caffeine likes to make you feel awesome and sticks around awhile. All of this helps explain why caffeine is the single most popular stimulant on the planet, consumed by 90% of the world’s humans. In the United States, most of that is in the form of coffee, with 70 to 83% of Americans having at least one cup a day.

One cup — what does that even mean? Unless you’re trapped in a Leave it to Beaver episode, it does not mean a 6-oz cup. But then again, it probably doesn’t mean a halfgallon travel mug. More than likely, the ceramic coffee cups in your kitchen are in the 12-14oz range. To-go coffee cups and mugs are usually a bit larger (around 16oz). In general, a 16-oz cup of specialty drip coffee has 200-300mg of caffeine. A single shot of espresso has 75-100mg of caffeine (most coffee espresso drinks are double shots, so 150-200mg)

The reason for the ranges? Brewing methods and brewing time, even plant species, affect caffeine levels.The arabica species of beans, the good stuff, has slightly less caffeine gram for gram than robusta (think old school canned coffee). A nice pharmacological boost depends on factors like your tolerance and weight, but in general you get a solid lift from 200-400mg. More than 400mg can start to mess with sleep cycles and could cause you to have dreams where you’re trapped on a hot air balloon arguing with Cher about the difference between a pillow sham and a pillow cover. (At least, that’s what we hear.)

Caffeine’s magical awesomeness is pretty clear, but did you know? Caffeine… 

French Press Coffee Ice Cream

Our search for the best coffee ice cream recipe was arduous, especially all the sampling, but we persevered. We landed on a version of Philadelphia-style ice cream which skips the eggs and custard cooking of traditional ice cream. This simpler iteration has just five ingredients and we brew the coffee French-press-style which gives it a rich, intense coffee flavor. Plus, it’s quick and simple to make so there’s no reason (well, no good reason) not to make it every night. We call it French press because that’s the easiest way to strain out the grounds, but a fine mesh sieve works as well.

  1. Warm cream, milk and sugar over medium heat dissolving the sugar and heat until hot and steaming but not boiling.
  2. Remove from heat and add coffee stirring to make sure all of the grounds are wetted. Let steep for three minutes and transfer to the french press and press the plunger. If you don’t have a French press you can strain the mixture with a fine sieve.
  3. Cool the mixture overnight and then make in your ice-cream maker per manufacturer’s instructions.

3 cups heavy cream

1 cup milk

¾ cup light brown sugar

¾ cup (60 g) coarse (french press) ground coffee

1 pinch of salt

Pro tips:

  1. If you let out a long, sad sigh at “cool overnight,” we’re here for you. For a fast ice cream fix, cool the mixture in a metal bowl set in an ice bath for five to ten minutes stirring occasionally. Transfer it to the freezer stirring with a whisk every 20 minutes for about an hour. It will start to freeze on the sides, scrape it down and whisk into the rest of the liquid. After two or three scrape-downs, it’s ready for the ice cream maker. Follow manufacturer instructions. It will be ready to eat soft-server style right out of the ice cream maker. It will be ready to scoop in a few hours.
  1. No ice cream maker? You can follow the above instructions for faster ice cream and simply continue to freeze, whisk, freeze, process for several hours until it has the consistency of soft serve. Then just let it freeze for good. This will make for a less smooth ice cream, but hey it’s still ice cream.
  1. Temper the ice cream. Without the eggs and cooking of traditional ice cream this version may be denser and firmer than what you’re used to. If you can wait a few minutes for it to just start to soften it will scoop and serve better.

Variations:

Mocha: Dissolve ¼ cup of powdered cocoa in the warm milk before adding the coffee to brew. Java Chip: Fold in ½ cup chocolate chips after the ice cream comes out of the maker with a soft serve consistency. You’ll want to do this quickly so that it doesn’t melt. Cappuccino: Add 1 teaspoon cinnamon to the warm milk before adding the coffee. Middle Eastern: Add ½ teaspoon cinnamon and five crushed cardamom pods to the warm milk. 

From Blondes to Italians — A Roasting Primer

Like so much in the coffee industry, a true consensus on roast names and what exactly they indicate about a coffee remains elusive. But this simple guide should give you a point of entry to the basics roasts you’ll see wherever you buy coffee. From light/blonde grassy, floral roasts to pungent, smoky, carbonated dark roasts, there’s a universe of flavors to explore from bean to roast to cup. Gato’s roasts go from medium to medium-dark, which is where we think the coffee we source truly shines. Of course, personal preference will always be the final Decider but for a balanced, carmelly cup with light to medium body, look for a City, Medium City or even a Full City roast. 

Cinnamon (or Blonde)

A cinnamon roast imparts a grassy or nutty-tasting, highly acidic cup of coffee. This is where you can really taste the original characteristics of a bean, but because it’s not roasted long, the flavors unlocked through the roasting process are underdeveloped if they appear at all. Also known as a blonde roast, this definitely isn’t our favorite but many inexpensive consumer coffees rely heavily on this type of roast.

Medium (or City) to Medium-dark (or Medium City)

Medium and medium-dark roasts tend to offer coffee a mellow caramel flavor with a subtle but lovely balance of acidicty and body, with some floral and fruity hints. Depending on your taste, the window of deliciousness can be very slim indeed – in the time it takes for you to read this sentence, a roast can go from ambrosia to am-not-brosia, just like that.

Dark (or Full City or Viennese)

Darker and more pungent, a Full City or Viennese roast is what larger corporation coffee tends to favor. For example Starbucks relies on a Viennese roast for its standard coffee. However, many modern roasters feel that the longer roast snuffs out the original flavors of the bean and is too heavy or syrupy to let any subtleties through. The result is a cup that’s more roast than bean.

French and Italian Roast

Let’s keep going. Almost black in color and slick with oils, these darkest roasts often taste bitter and burnt. Unless you’re roasting it yourself, many French and Italian roasts are rancid by the time you’ll find them on the grocery shelves – such a degraded bean structure allows rapid oxidation. And let’s go ahead and apologize to the Italians – somehow they became identified with this overly crispy roast, but the truth is, they drink almost exclusively espresso made from city to full-city roasts. If you’ve ever been to Italy, you know. Real Italian coffee is decidedly not burnt.